 MX | en
Material Safety Data Sheet
Temporary/emergency pipe repair on leaking or damaged pipes
Call +8183545649 or click the Contact Us Button to send us an email.
| Weight |
1.75 lb
|
|---|---|
| Break Quantity |
1
|
| Optional Package/Box Quantity |
1
|
| Size |
4" x 30' (100 mm x 9 m)
|
| Material |
water-activated polyurethane
|
| Working Pressure |
360 PSI
|
| Used on |
Bonds to most pipes: steel, polypipe, PVC, fiberglass, copper
|
| Temperature Rating |
Temporary/emergency pipe repair on leaking or damaged pipes
Shut down pipes. Apply gloves, then thoroughly clean and roughen the damaged pipe area with a metal file or wire brush. A clean, rough surface results in a successful repair. Knead steel putty until it is a uniform grey color. Apply firmly to the damaged area within 2-5 minutes of mixing. Open the foil pouch and soak the bandage in freshwater for 10 seconds. Squeeze bandage 1-2 times while in the water to help activation. It is important to apply the bandage before the putty is cured. Quickly wrap the bandage around the damaged area, extending 50mm on either side of the leak. Pull each layer tightly and firmly throughout the application, using your hand to mold and squeeze the layers together in a tightening motion. Continue to squeeze the bandage with a rotating motion until resin stops foaming and is set. Allow a minimum of 30 minutes for Rapp-it bandage to set rock hard.
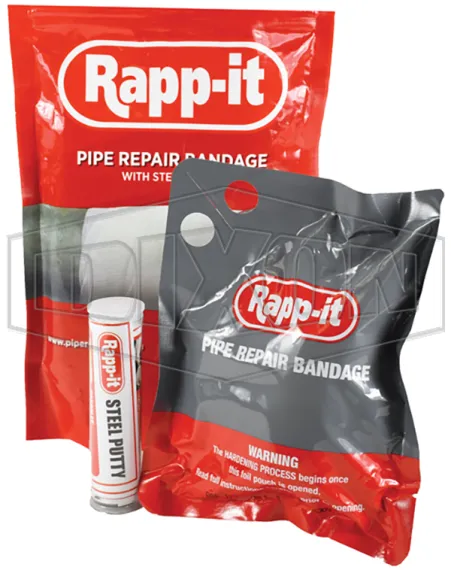
Woven fiberglass bandage impregnated with water-activated resin and a 90mm stick of Rapp-It steel putty
Wrap tightly around leaking/damaged pipe. For best results, the completed bandage application should be no less than 10mm thick (12-15 wraps). Difficult or large applications may require multiple bandages.